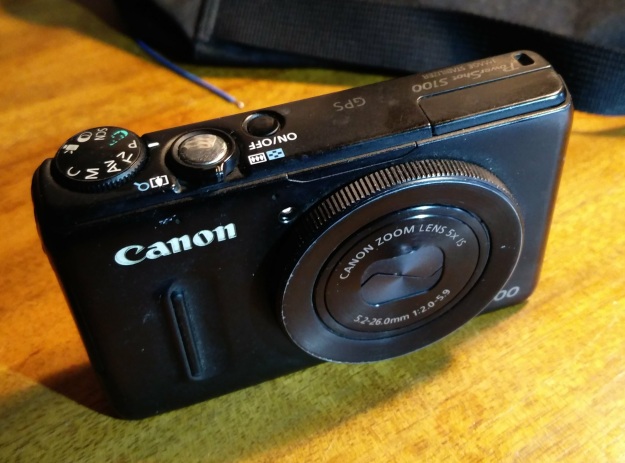
This is my Canon S100 digital camera. After long, somewhat arduous service, the shutter button started playing up: it would focus but not take the photo. Eventually I got a mobile phone with a better camera and quietly forgot about the Canon. The S100 has been extensively frozen, boiled, soaked, rattled and trodden on, so I figured that the shutter button problem was just due to the abuse. It doesn’t owe me anything. However, it’s still useful for some things the phone camera won’t do: it fits a tripod, and has good long exposure and manual control facilities including a handy neutral density filter.

Trying to use it to take some tricky oscilloscope photos the other day, the shutter button got really annoying. I searched on line for the problem and discovered that it’s quite common. That sounded like an interesting problem to me. Here’s my attempt at fixing it.
Before we start, don’t try this unless you’re used to dealing with annoyingly tiny things and have the tools to match: jeweller’s screwdrivers, tweezers, a very fine soldering iron and either amazing close-up vision or a good magnifier.
The camera comes apart surprisingly easily. There are six little black screws on the outside: two on each end and two on the bottom, close to the tripod mount. Take those screws out. The back comes off very easily – take care not to lose any of the buttons though.

The front also comes off easily, though there’s a little FFC connector to the setting ring round the lens. Unplug it carefully. It doesn’t have a locking bar so the flex PCB just pushes in and out. There’s also a foam gasket round the lens and the plastic cover for the HDMI and USB sockets. They’ll fall on the floor.

The shutter button and other controls are underneath the top cover. There are two more screws to remove: one on the front near the lens and one on one end. They’re different lengths so take note of where each came from. Before removing the top, there’s one more FFC to unplug. This one connects to the microphones. Again it has no locking bar so just pull gently. It’s the middle of the three FFCs in this photo.

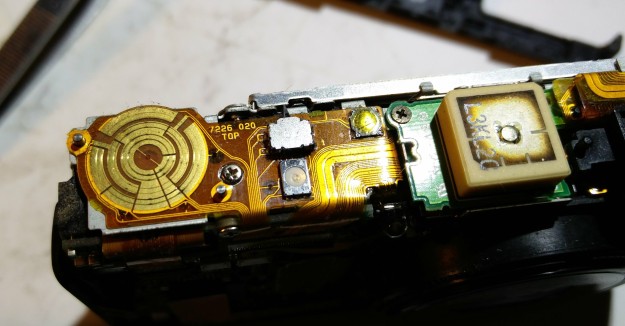
With the top cover off, the controls themselves are revealed. On the left here, the function selector rotary switch, then the shutter button and zoom switch, then the power button, and on the right the big square thing is the GPS antenna.

If you put the battery back in, the camera actually works fine in this dismantled state, so it’s easy to try experiments. I prodded and poked the shutter button. Sometimes it worked, sometimes it didn’t. I doused the button with my favourite contact cleaner (DeoxIT D5) to no avail. I looked on the web for replacement buttons: “double action tactile switch” seemed to be the best thing to search for. There are lots out there which might fit, but they’d take a while to get hold of and would be really fiddly to solder, especially with the zoom switch so close by.
I wondered about a mechanical solution, extending the plastic rod from the outside shutter button that presses the switch to give it more poke, but sometimes the switch just refused to work no matter how hard I prodded it with a screwdriver, so that probably wasn’t worthwhile.
Given that it wasn’t worth spending a lot of time on what’s effectively a life-expired camera, an alternative engineering solution was called for. The first stage of the shutter button, the half-press to lock the focus and exposure, still works reliably. What if I just wired it in parallel with the shutter release contact? Then there would be no way to lock the exposure and focus, but at least the camera would take photos.
Some fiddly soldering with a fine iron bit and some polyurethane-insulated mod wire later, the two opposite corner contacts on the button are connected…

…and the S100 lives again. It’s not a full fix, call it a workaround, hack or bodge, but it’s good enough for me to take pictures. Oh yes, and assembly, as somebody once said, is the reverse of disassembly.